

Caring for your Oyster Bucket
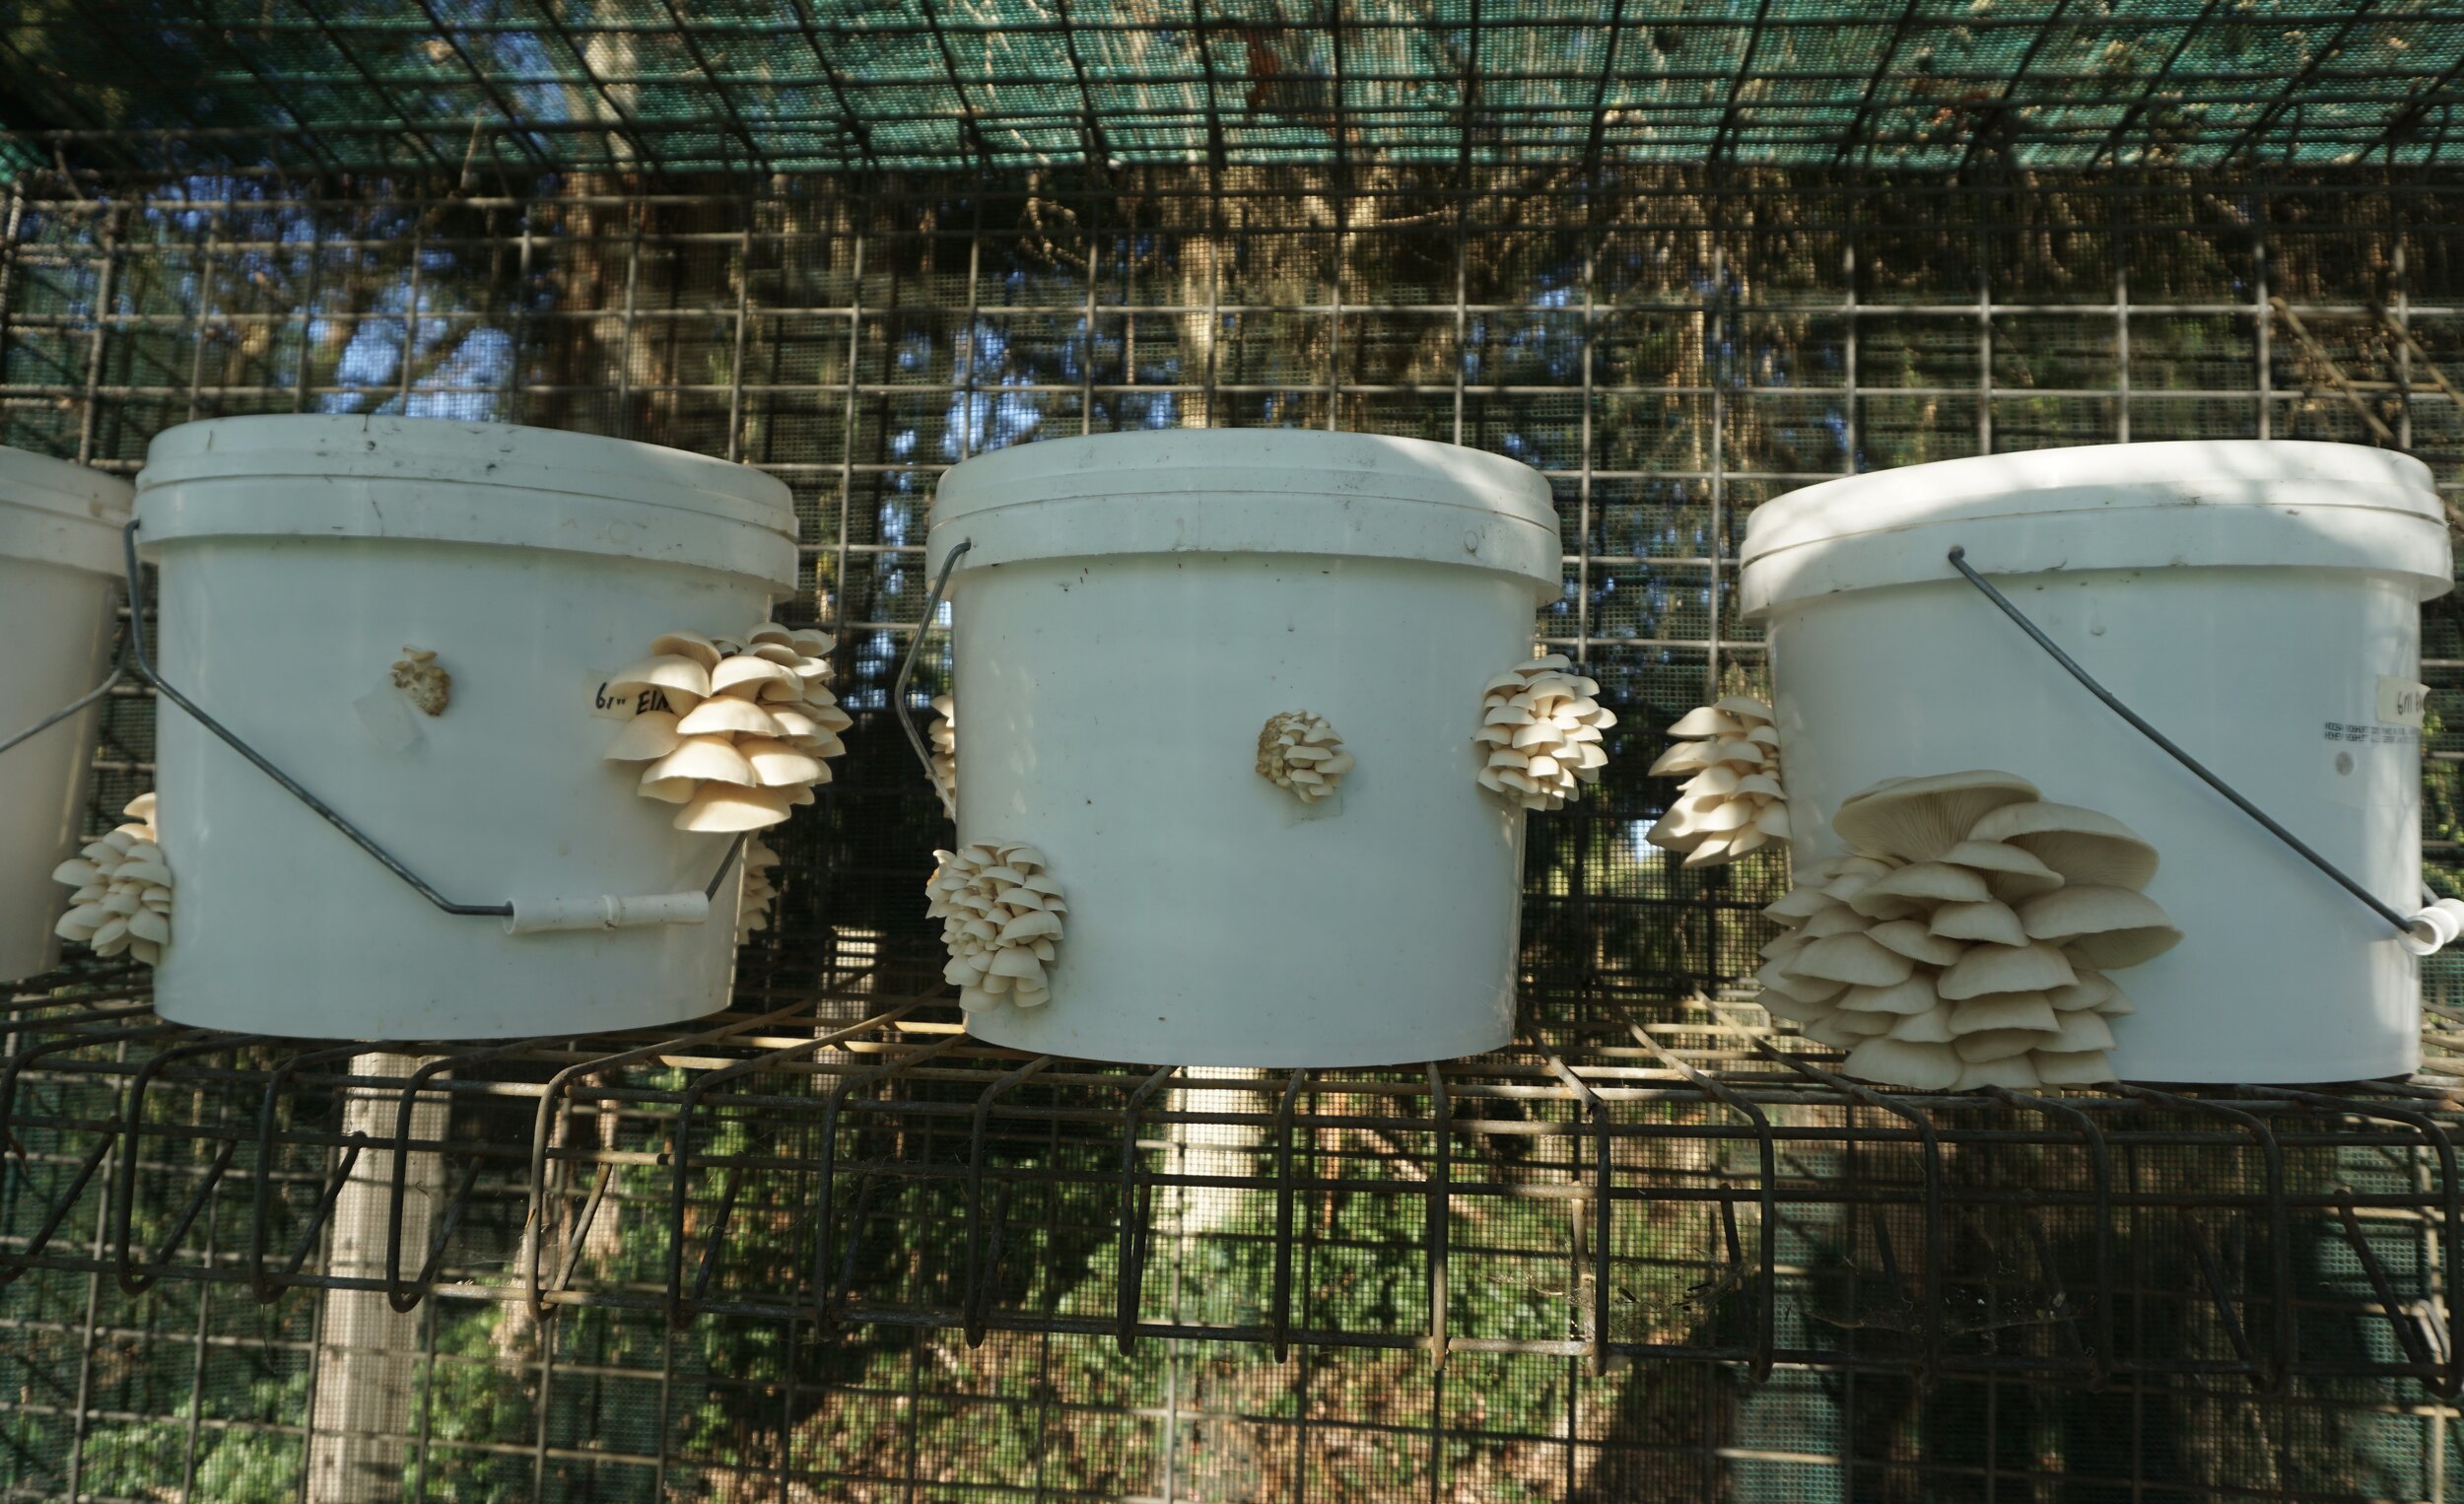
Our oyster mushroom buckets are 10L buckets with a mixture of biochar sugar cane mulch and our home grown grain spawn. These buckets are intended to take out all the difficulties of growing your own mushrooms at home. We do all the culturing, transferring, sterilizing and pasteurizing of the substrates so you can receive a mushroom bucket just before its ready to fruit and reap the rewards of delicious fresh oyster mushrooms grown in your own home.

Step by Step Guide
Find a sheltered, shaded or dabbled light location for your bucket. Mushroom like it moist, so keep away from dehydrating elements such as direct sunlight and winds. An ideal location is somewhere easily accessible for frequent misting of holes (kitchen or main hallway).
Soon after receiving your bucket you will be able to remove the tape covering the holes on the outside of the bucket.
After the tape has been removed you will need to spray or mist the hole with water. Best to use unchlorinated water. if you don’t have access to unchlorinated water, fill a container with tap water the day before you remove the tape and leave it open to allow the chlorine to evaporate and use that water to fill a spray bottle.
Continue to mist the holes one or twice a day and soon primordia or pins will form, these are the baby mushrooms
The mushrooms will double in size every day until they are ready to harvest; From pinning to harvest, takes about 3-5 days. They have a water content of up to 70-80% so make sure you keep it nice and wet the whole time. Mist 2-4 times a day, and keep away from winds and direct sunlight.
To Harvest, twist cluster. You can tell they are ready to harvest when the cap of the mushroom are nearly flat to flattened out. It is likely that your cluster will be at various stages of growth, harvest when one or more have flattened. A flattened cap represents spore release and is now fully grown, ready to be picked and eaten.
After they have been harvested they can be stored in the fridge fresh for up to a week. Best stored in a paper bag inside a container to maintain moisture.
At this point your bucket will need some rest while the mycelium builds up for another round of mushroom formation.
After a week of resting its time to start watering it again.
And the process of pinning, doubling and flattening will start again. These mushroom will likely be smaller then the first and likely coming through different holes.
This process can be done a 3rd time but again with smaller mushrooms
After this point the fungus will be mostly out of useable food in the bucket and its time to empty the contents. The mycelium inside the bucket is a great resource for any garden, compost pile or worm farm and can even be thrown out to the chooks!
We hope you enjoyed your mushroom growing experience!!
Return your bucket to be reused and get $5 your next bucket! We strongly value the reduction of any waste that could be created by this product.
An extra note about these buckets.
The holes in the bucket are for the fungi to breath - inhale oxygen and exhale carbon dioxide, just like us! - as well as a space for mushroom formation. Your bucket may not fruit through every hole. The more holes fruiting the smaller the clusters will be and vice verse, the less holes fruiting the larger your clusters will be.
Happy growing!!
Love,
Alchemistic Fungi